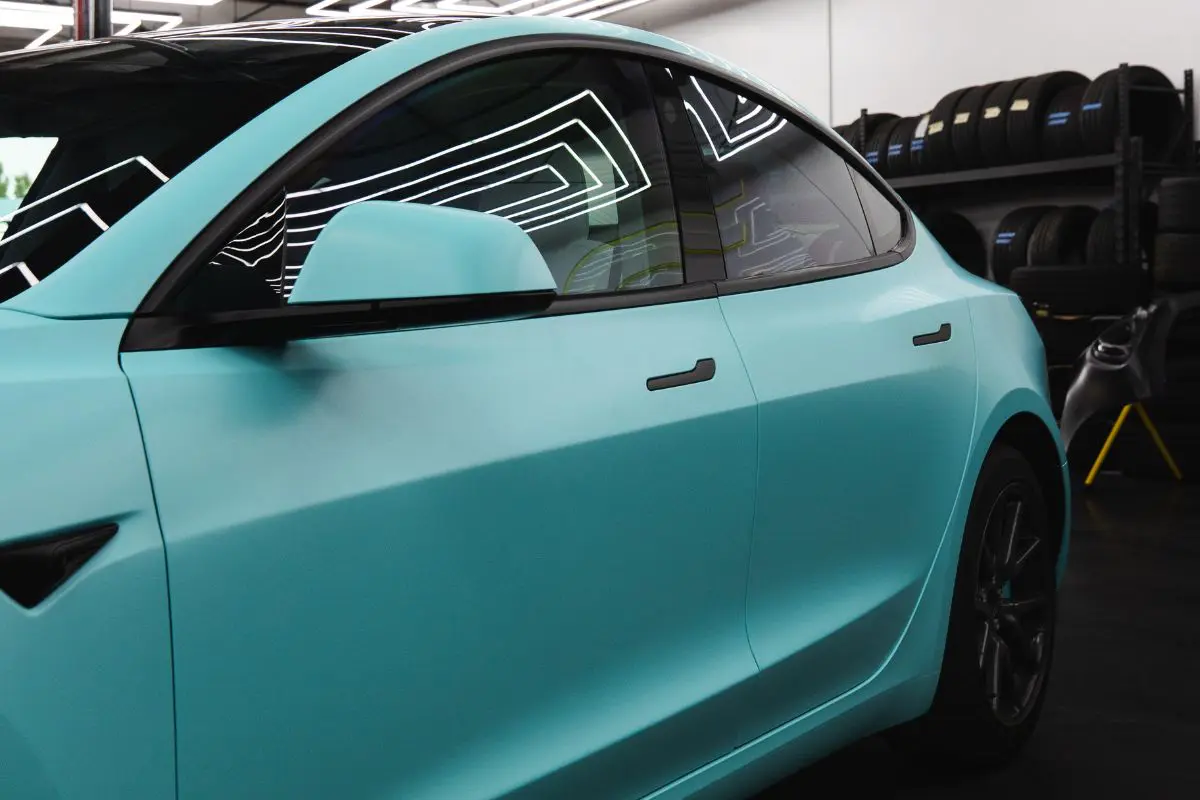
Vinyl wrapping your car is an excellent way to give it a fresh new look without damaging the paint. Whether you want to change the color, add graphics, or protect your car’s original paint, a DIY vinyl wrap can be enjoyable and fulfilling. However, achieving a professional finish requires precision, patience, and the right tools. Here are some essential tips to help you successfully vinyl wrap a car.
Preparation is key
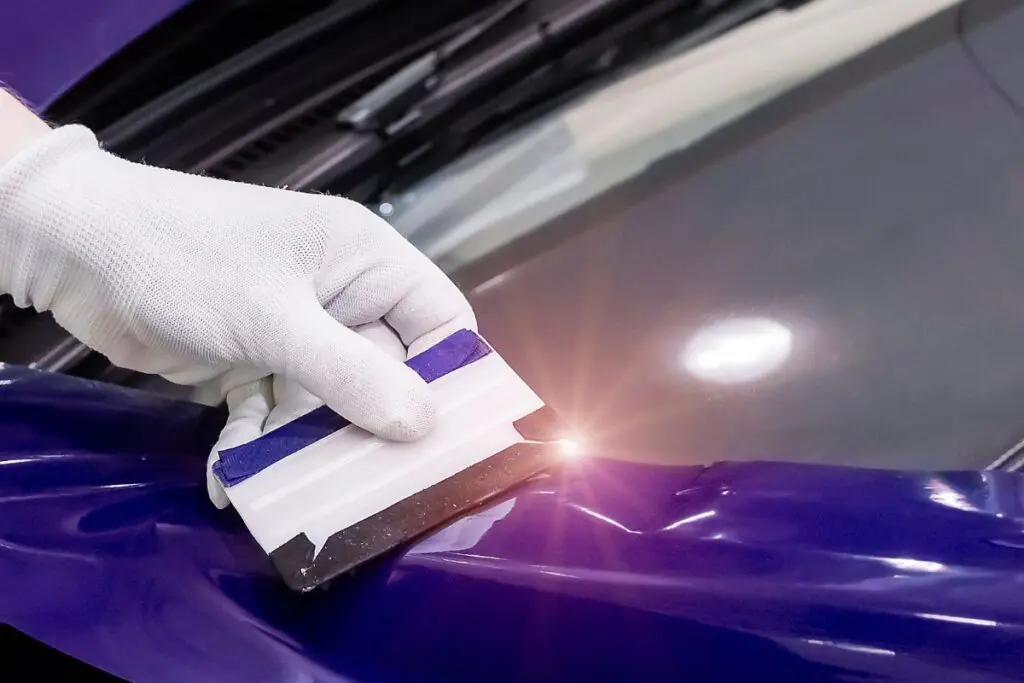
Preparing car vinyl wrap
Before you start your DIY car vinyl wrap, thorough preparation is crucial. Here’s what you need to do:
- Clean your car: Start by washing your car thoroughly to remove dirt, grime, or wax. Use a clay bar to eliminate any embedded contaminants. This step is vital, as debris left on the surface can cause imperfections in the wrap.
- Disassemble parts: Remove parts that might prevent a smooth application, such as mirrors, emblems, and trim pieces. This process will make wrapping much easier and help achieve a seamless finish.
- Smooth surface: Ensure your car’s surface is as smooth as possible. Remove any dents or scratches, and sand down any rough areas. The vinyl will highlight any imperfections, so a smooth base is essential.
Gather the right tools
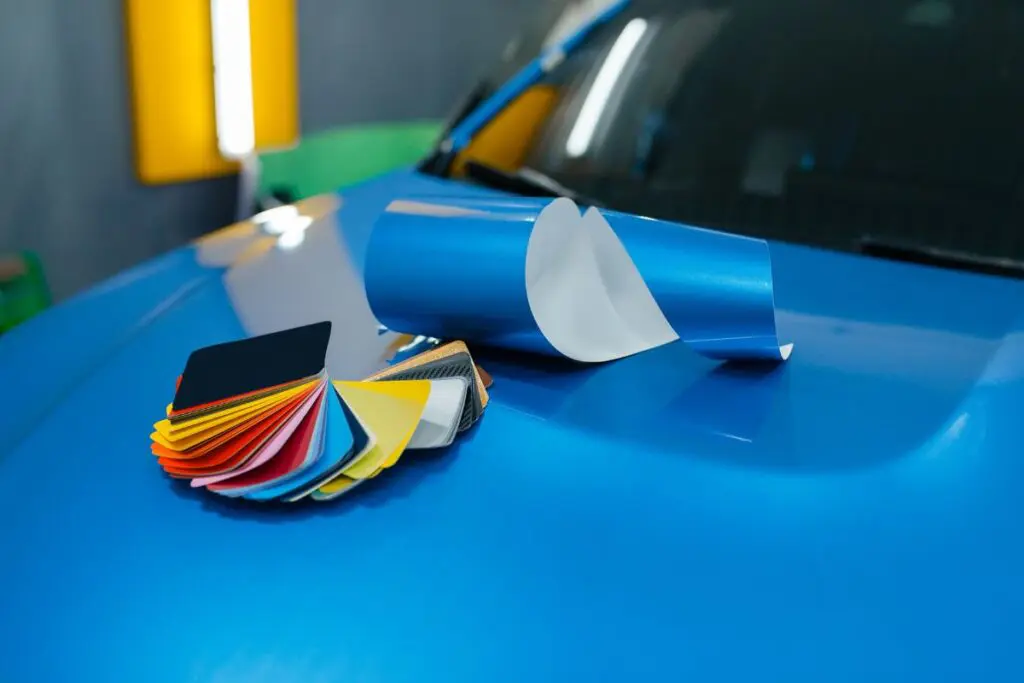
Tools for vinyl wrapping
The right tools can make your vinyl wrap DIY project much more manageable. Let’s have a look at the list of essential tools:
- Vinyl wrap: Choose high-quality vinyl wrap suitable for automotive use and taste. Ensure you have enough material to cover your preferred areas, including some extra for mistakes.
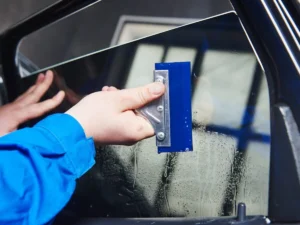
- Squeegee: A squeegee helps to smooth out the vinyl and remove air bubbles during application.
- Heat gun: A heat gun is essential for making the vinyl more pliable and helping it conform to curves and contours.
- Utility knife: A sharp utility knife is necessary for trimming excess vinyl and making precise cuts.
- Measuring tape: Accurate measurements ensure you cut the vinyl to the correct size.
Read more:
- How Much Does Ceramic Coating Actually Cost in Northglenn, CO?
- What Should You Expect From Mobile Detailing In Northglenn, CO?
Applying the vinyl wrap
Now that you’re prepared and have all the tools ready, it’s time to start the actual wrapping process. Below is a step-by-step guide for a successful DIY vinyl car wrap:
- Measure and cut: Measure the area you plan to wrap and cut the vinyl to the appropriate size, leaving some extra material to work with.
- Start with flat surfaces: Begin with the flattest surfaces, such as the hood or roof. Doing that will give you practice before tackling more complex areas.
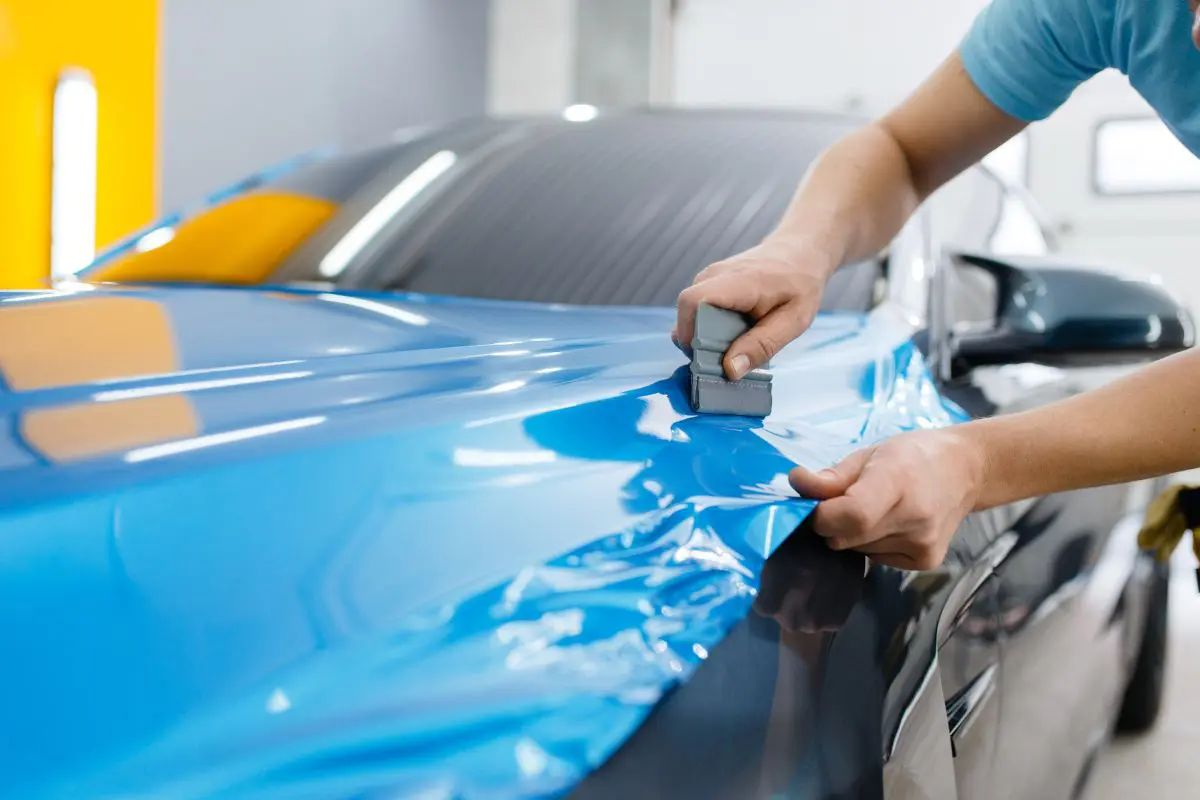
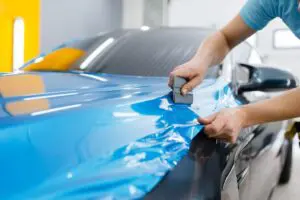
- Apply the vinyl: Peel off the backing paper and apply the vinyl to the surface. Use the squeegee to press the vinyl down, starting from the center and working outwards to remove air bubbles.
- Heat and stretch: Use the heat gun to warm the vinyl, making it more flexible. Stretch and mold it around curves and edges, ensuring it adheres smoothly.
- Trim excess vinyl: Once the vinyl is in place, use a utility knife to trim any excess material. Be careful not to cut into the car’s paint.
- Finish edges: Make sure all edges are firmly pressed down and heated to stay in place. Tuck any excess vinyl under trim pieces or seals for a clean look.
Troubleshooting common issues
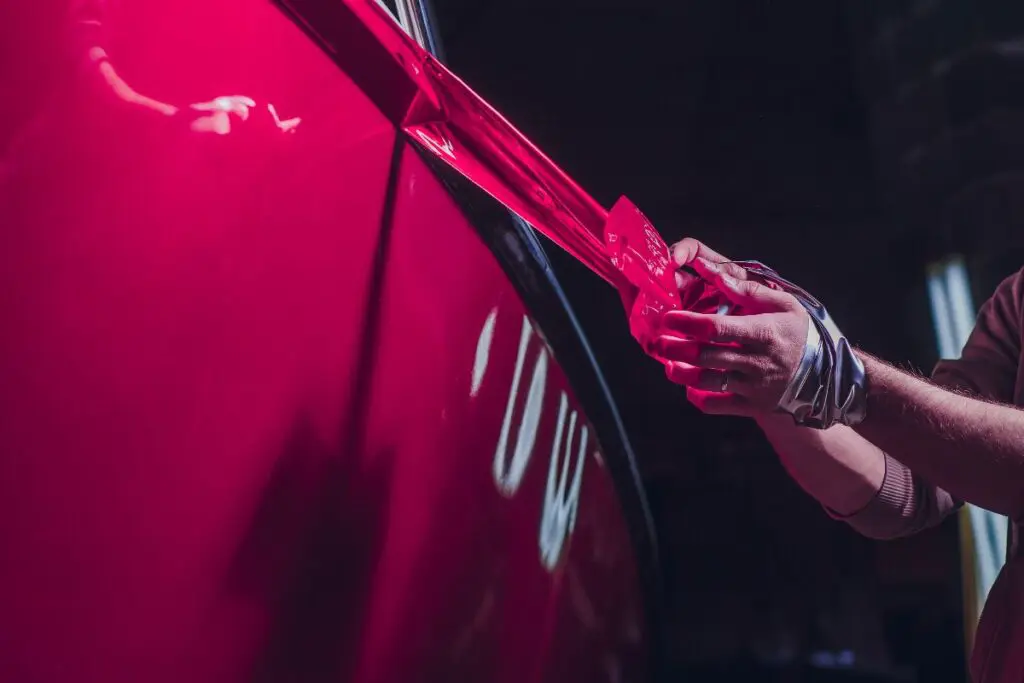
Common problems when vinyl wrapping
Even with careful preparation and application, you might still need help with some issues during your vinyl wrap DIY. Don’t panic; this tends to happen to first-timers. Here are some common problems and how to fix them:
- Air bubbles: If you notice air bubbles under the vinyl, use the squeegee to press them out. For stubborn bubbles, prick them with a needle and smooth out the vinyl.
- Wrinkles: Wrinkles can be eliminated by reheating the vinyl and gently stretching it. Use the squeegee to smooth out any remaining wrinkles.
- Lifting edges: If the edges of the vinyl start to lift, reheat them and press them down firmly. Ensure the surface is clean and dry before reapplying the vinyl.
Seeking professional help? Call Pure Finish Auto Detailing!
While a DIY vinyl wrap can be rewarding, it’s not always the easiest task. It requires a lot of patience and attention to detail. If you find the process overwhelming or if you want a flawless finish, it’s wise to consider some professional help, such as Pure Finish Auto Detailing.
For those in Northglenn, CO seeking convenient and efficient vinyl wrap installations, Pure Finish Auto Detailing is the best establishment in the area. Our team of professionals can provide a perfect finish, saving you time and ensuring your car looks stunning. Call us now at 720-948-4009 and witness a magic transformation in real time!
